Three Mini Experiments to Master Drying and Preserving Seasonal Herbs
Preserving herbs is more than a convenience; it’s a way to capture a season’s scent and flavor so small pleasures can be repeated through colder months. These three mini experiments build on one another: start with the simplest method, compare results, then turn dried herbs into useful pantry items. Each experiment is short, focused, and invites observation so you learn the principles behind successful preservation.
Principles to keep in mind
- Moisture control: The aim is to remove most water while keeping essential aromas. Too much heat or trapped moisture damages color and scent.
- Air and light: Airflow helps drying; direct sunlight and high heat accelerate deterioration of color and volatile oils.
- Timing: Harvest when plants are dry—typically late morning after dew evaporates—for best flavor and lower initial moisture.
- Small batches: Working in small amounts makes it easier to compare methods and refine technique.
Experiment 1 — Air-drying sprigs (woody herbs)
Purpose: Learn the classic, low-energy method and observe how structure and leaf thickness affect drying time.
- Choose small bundles of rosemary, thyme, and oregano—three sprigs of each.
- Remove loose dirt or insects by a gentle shake. Do not wash; moisture slows drying.
- Tie each herb into a small bundle with string and hang upside down in a warm, well-ventilated room out of direct sunlight.
- Check every 2–3 days. The leaves are ready when they crumble easily between fingers and release aroma.
Observe: Which herb dries fastest? Which keeps the green color best? Note the texture and scent intensity before and after drying. These observations connect to leaf thickness and oil content—the thinner the leaf, the quicker it dries but sometimes with more loss of bright green color.
Experiment 2 — Low-heat tray drying (delicate leaves and blossoms)
Purpose: Compare controlled low-heat drying to air-drying, suitable for basil, mint, or edible flowers that bruise easily.
- Preheat an oven to its lowest setting or use a food dehydrator if available. Arrange a single layer of leaves or blossoms on a baking tray lined with parchment.
- Leave the oven door slightly ajar to allow moisture to escape if your oven permits; otherwise choose the lowest stable temperature and check frequently.
- After 10–20 minutes, check every 5–10 minutes until items are brittle or leathery, depending on type. Remove and cool on the tray.
Observe: Note color retention and aroma compared with air-dried samples. Low, gentle heat speeds moisture loss and can preserve softer herbs and flowers that might otherwise blacken or wilt in a cramped hanging environment.
Quick tests to evaluate dryness
- Crunch test: Leaves should crumble easily.
- Rub test: Rub a bit between fingers—intensity of scent shows how well oils were preserved.
- Visual check: Little or no visible moisture; color may darken slightly but should not appear soggy.
Experiment 3 — Turn dried herbs into herb salt and floral sugar
Purpose: Transform your dried herbs and blossoms into two small, useful pantry items that illustrate how preserved flavors can enhance cooking and baking.
Herb salt
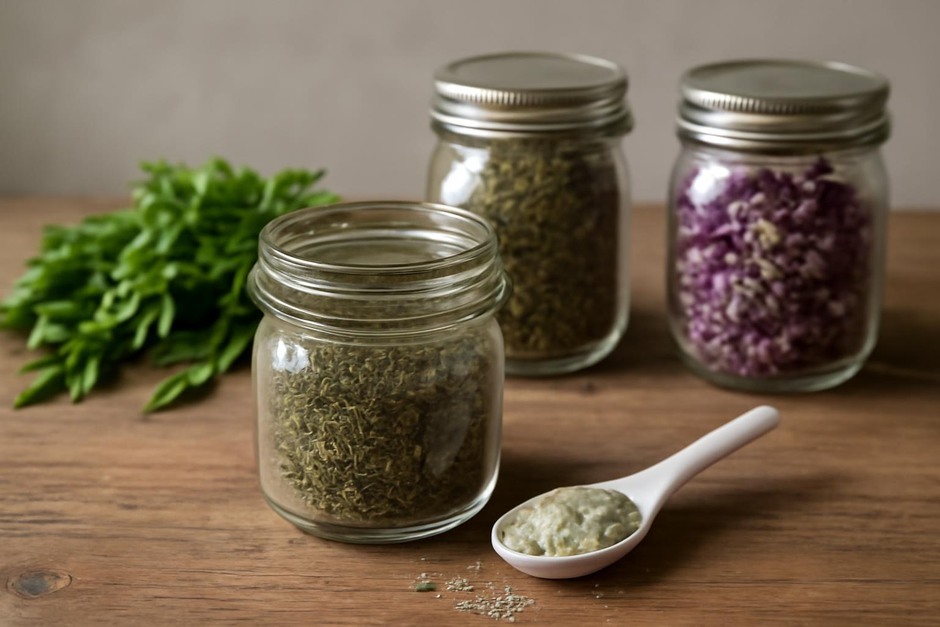
- Take 3 tablespoons coarse sea salt and 1 tablespoon finely crushed dried herb (e.g., rosemary or thyme).
- Combine in a small bowl and crush with the back of a spoon or a mortar and pestle until the herbs are evenly distributed and release aroma into the salt.
- Spoon into a clean, dry jar and label with contents and date.
Use: Sprinkle on roasted vegetables, finish soups, or rub onto bread before toasting. The salt acts as a carrier, stabilizing and spreading the herb flavor.
Floral sugar
- Measure 1 cup granulated sugar and 1 tablespoon finely chopped dried lavender or rose petals.
- Mix thoroughly, rubbing the flowers into the sugar so fragrance disperses.
- Store in an airtight jar. Taste after a few days to see how the flavor has blended.
Use: Stir into tea, sprinkle on shortbread, or use as a finishing sugar for fruit. Floral sugar demonstrates how volatile aromas continue to develop with time.
Notes on storage and next steps
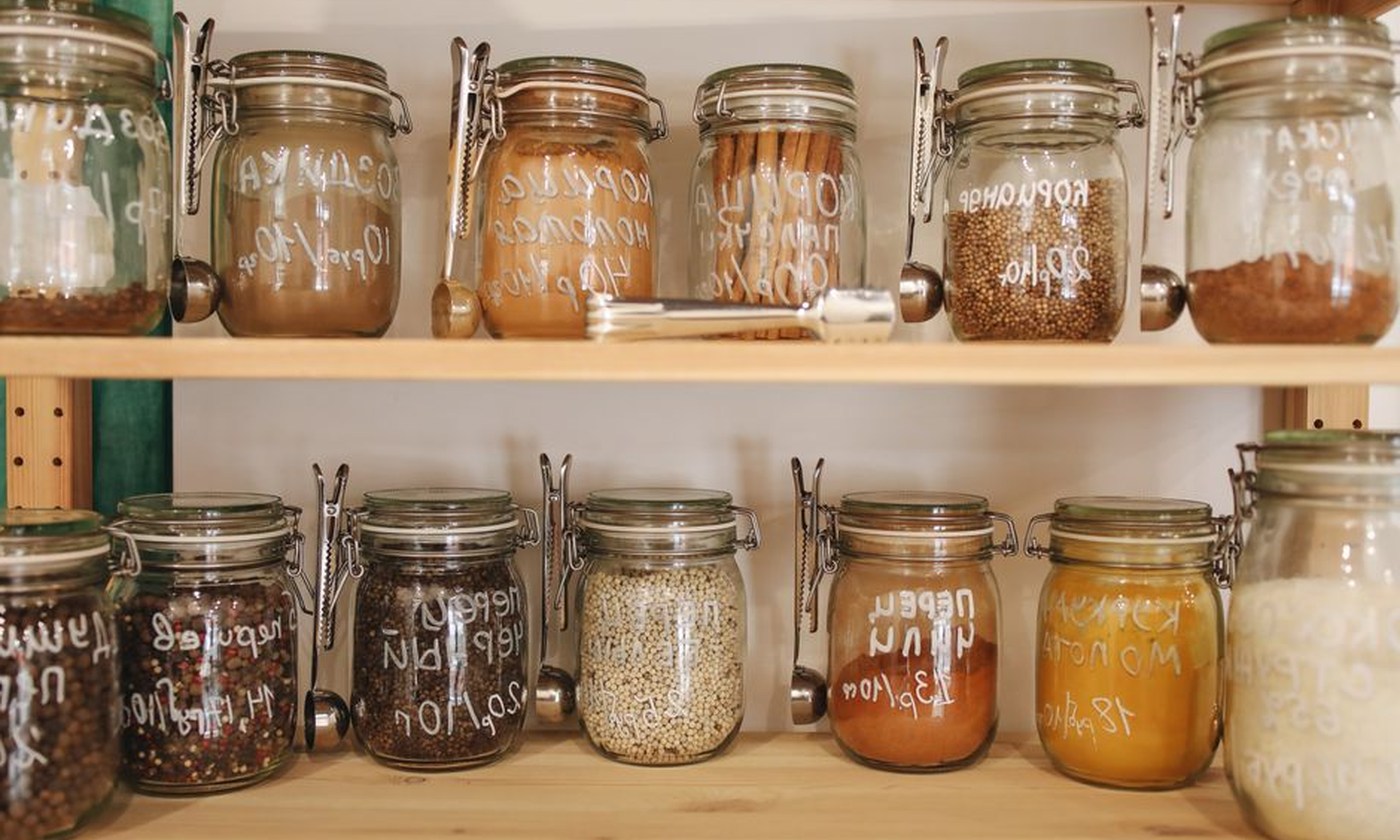
- Keep preserved items in airtight, labeled containers in a cool, dark place.
- If a dried sample feels soft or clumps, it may contain residual moisture—consider re-drying it briefly.
- Repeat the experiments with different herbs and small variations in time or temperature to build intuition about what each plant prefers.
These three experiments focus on observation as much as technique. By comparing air-dried sprigs, low-heat tray-dried leaves, and the finished pantry preparations, you’ll develop a practical sense for moisture control, aroma preservation, and simple ways to extend a season’s harvest into everyday cooking and small pleasures.